Cloud Function을 사용한 Blob Storage Upload
사전 준비
- GCS(Google Cloud Storage) 개념 파악 및 공개 액세스 버킷 생성
- Python 문법
- IAM 기본 지식
내용
Serverless인 Cloud Functions을 사용하여 Bucket에 Blob Storage 생성 후 Upload 하기.
Cloud Function
1. 함수 이름, 리전 및 트리거 선택.

2. 런타임, 빌드, 연결, 보안 설정(Service Account 중요)

2-1. Service Account 권한 설정
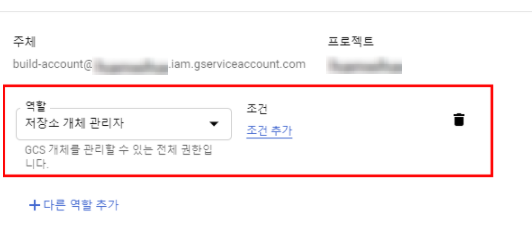
버킷에 파일 업로드를 위하여 Function에 적용한 런타임 서비스 계정에
‘저장소 개체 관리자’ 역할을 추가합니다.

해당 서비스 계정(Build_Account)에 사용자 계정에 대한 ‘액세스 권한 부여’를 추가합니다.
3. Code 작성(main.py)
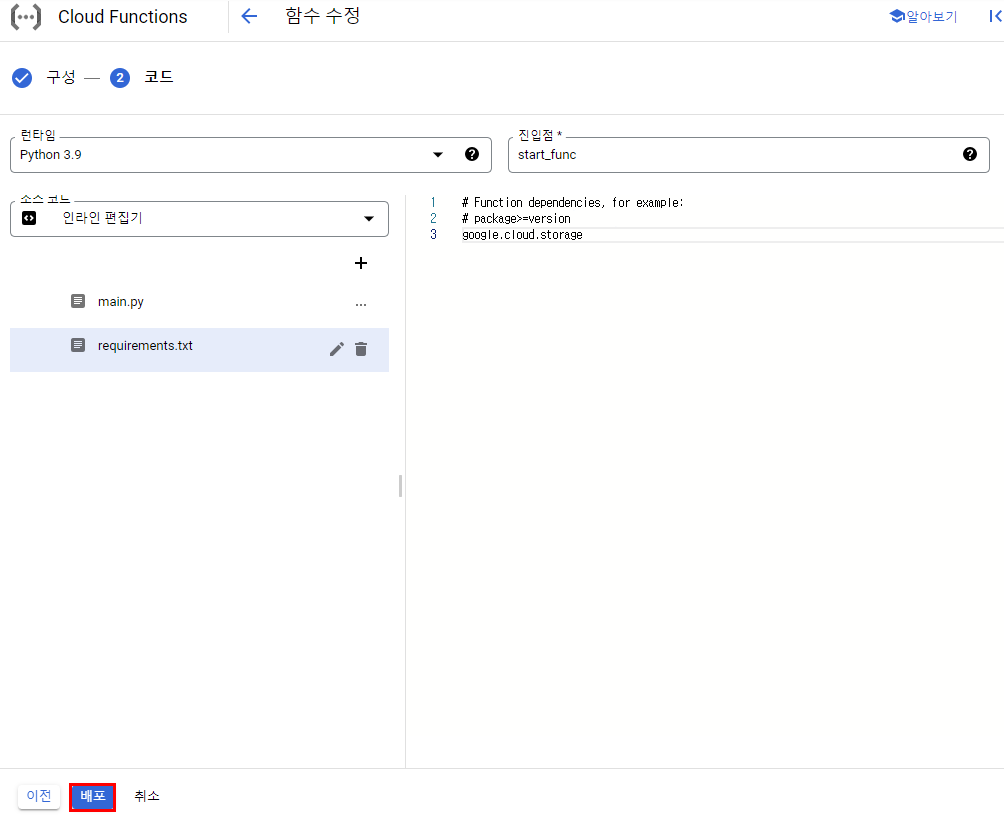
- 런타임 : Python 3.9
- 진입점 : start_func

4. Code 작성(requierments.txt) – Import 할 Library 추가 후 배포
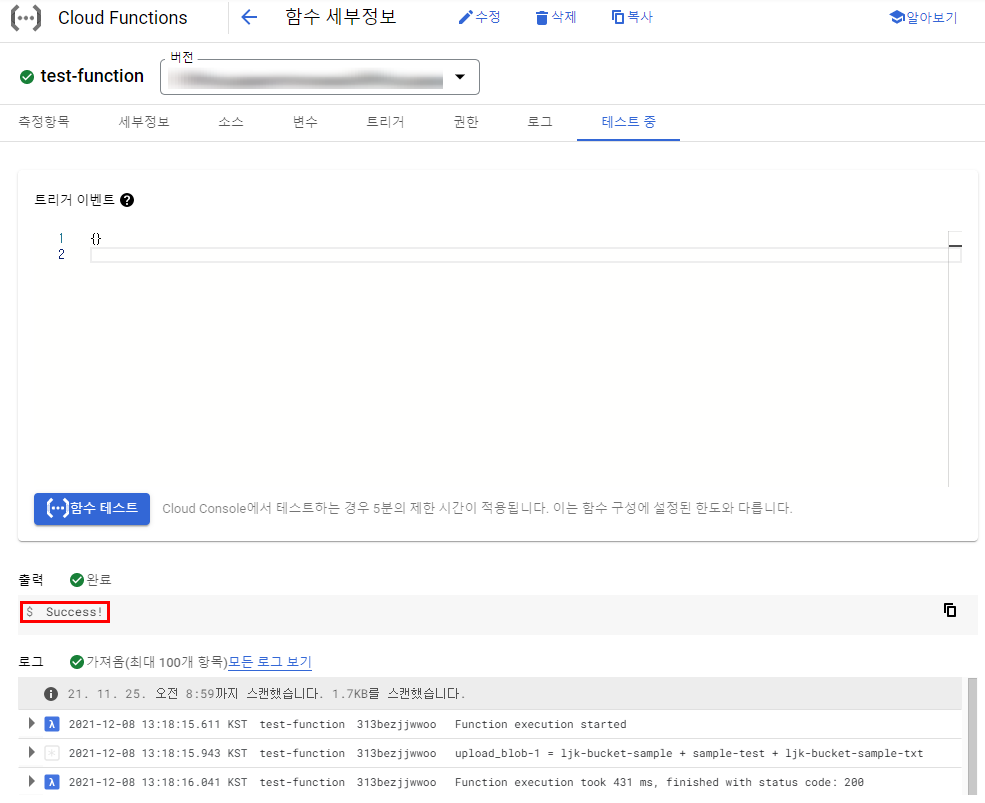
5. [테스트 중] – [함수 테스트]
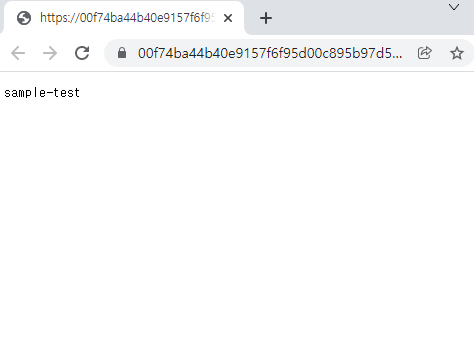
6. [bucket 확인] – [URL 클릭]
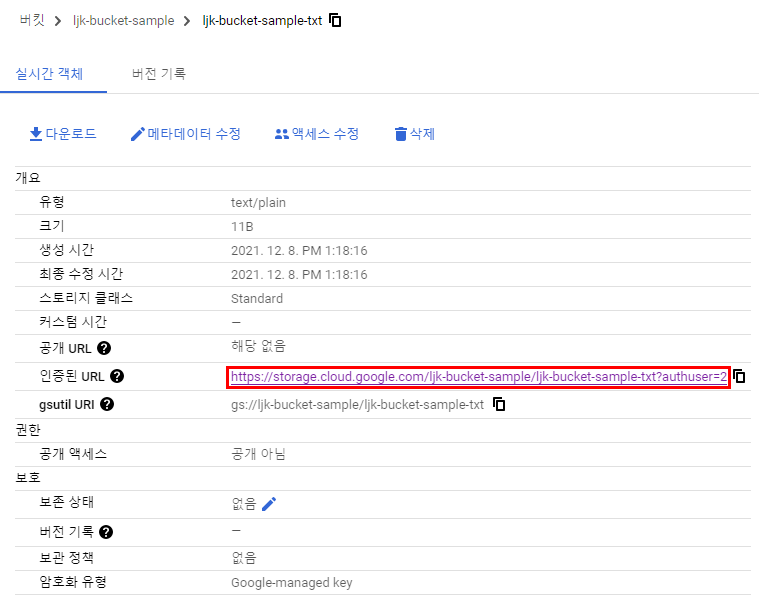
7. ‘blob_text’ 변수에서 입력 값 확인
Reference
#main.py
from google.cloud import storage


def start_func(request):

    #Bucket Name
    bucket_name = "ljk-bucket-sample"

    #txt Content
    blob_text = "sample-test"

    #txt file 명칭
    destination_blob_name = "ljk-bucket-sample-txt"

    #Bucket에 File Upload
    upload_blob(bucket_name, blob_text, destination_blob_name)

    return 'Success!'

def upload_blob(bucket_name, blob_text, destination_blob_name):

    #Storage Client에 Bucket,
    storage_client = storage.Client()
    #get_bucket에 bucket_name 설정
    bucket = storage_client.get_bucket(bucket_name)
    #blob 객체 선언 및 생성 file name 설정
    blob = bucket.blob(destination_blob_name)

    print(f"upload_blob-1 = {bucket_name} + {blob_text} +  {destination_blob_name} ")

    blob.upload_from_string(blob_text)
#requirements.txt
# Function dependencies, for example:
# package>=version
google.cloud.storage